You’ve decided to renovate your kitchen. But what exactly is involved in a kitchen remodel? Hardly knowing where to begin, many homeowners start by shopping for kitchen appliances. Others collect inspiring kitchen images and colour palettes. And still, others begin by visualizing alternative layouts. People may think for years before deciding on a kitchen renovation.
Kitchen Renovation Guide
There are two core reasons why the kitchen renovation process is drawing out.
- Firstly, managing all the choices and details can be stressful. Decision fatigue can potentially lead to difficulty making the right decisions, causing delays or even avoidance.
- Next, a kitchen renovation project involves a lot of people that need to work together. If one piece of this puzzle is delayed, it will hang up the rest of the process.
Our step-by-step guide helps you start your renovation on the right foot.
Step 1: Make A Plan
Before you start construction work or hire any professionals, sit down and establish a budget for your home improvements project – and stick to it. To determine what you are comfortable spending on your renovation, make a list of your debts and figure out your monthly gross income.
Step 2: Prepare Your Home
Demolishing your kitchen is an essential step to any remodel. Before creating your dream kitchen, you need to get rid of old items. This is the time when you prep walls for paints or remove shabby cabinets. Some homeowners prefer to conduct demolition personally, but this do-it-yourself approach often damages and adds time to the overall renovation process. A licensed contractor is an expert and understands the ins and outs of demolition projects. They remove what needs to be removed while protecting areas and items essential for stability and future functionality.
If you handle the kitchen demolishing work yourself, there are several steps to follow before you start swinging a hammer:
- Turn off the electricity, the water, and the gas.
- Throw a drop cloth over the floor.
- Rent a dumpster.
Now you’re ready to start demolishing the old kitchen, piece by piece.
Step 3: Plumbing and Electrical
After demolition, rough-in work can begin, which includes any framing, plumbing, or electrical changes. This step is very labour-intensive, and usually best to hire professionals to help with installation. Ordinary, household, 120 volts AC electricity is dangerous, and it can kill. Besides that, plumbing errors can have serious consequences as well. Non-experienced property owners should not do their own electrical or plumbing work.
Step 4: Hang The Walls
Hanging drywall is a relatively straightforward project, even for do-it-yourselfers. Make sure your measurements are accurate and check that you have a few simple items:
- Drywall Panels
- Joint Compound (Mud)
- Paper Tape
- Outside Corner Bead
- Drywall Screws
While cheaper and faster to install, drywall has one major drawback. That drawback is drywall dust. To get rid of drywall dust, you need to brush off the walls (every inch) and vacuum.
Step 5: Paint The Walls
Painting is the stage where you finally start to see your vision take shape. Plus, it’s pretty painless, relatively inexpensive, and – should something go wrong – easy to fix. Need a little help picking a paint colour? You can call a colour consultant to help you decide on a good colour.
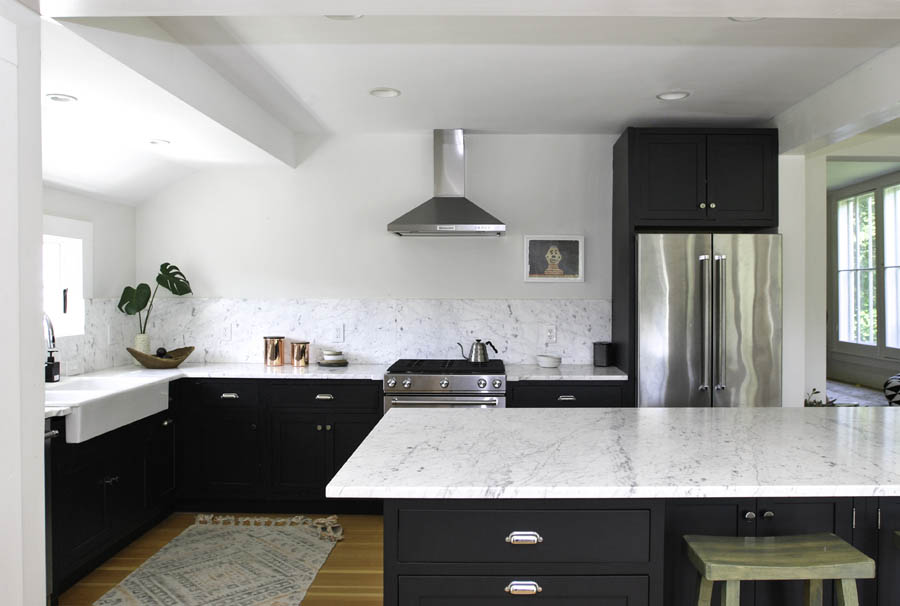
Step 6: Install Cabinets And Countertops
After the framing work is over, the next step starts. Throughout this time, you also need to include the sink, faucet, and garbage disposal. If necessary, reach out to an experienced professional for advice or help.
Step 7: Bring In New Appliances
Compared to the hard work of planning your kitchen layout and preparing the space, bringing in appliances can seem relatively simple. But there are a few things you should keep in mind before starting the process.
- Measure the area where your new appliance will go not once, not twice, but three times before you commit.
- For fridges, you’ll need to leave an inch of space on every side to prevent overheating. And make sure the new appliance will fit through the door.
- And don’t forget to allow ample space for the oven door to open.
Final Considerations Before A Kitchen remodel
Be proactive with bringing in professionals. Their expertise will help you confirm your space is planned in a way that will ensure convenience and ease of movement for you and your family. Between you, your kitchen cabinet designer, and your contractor, you should be able to make sure that your kitchen is designed and built to your liking.
Pick the right materials first
We spoke to Austin of Palm Beach Premier Remodeling Of Jupiter, and he told us that most people are nervous about remodelling their kitchen if they haven’t done it before. It makes things a lot easier when they come into our showroom and actually see exactly what their new kitchen will look like before they have to spend any money.
Palm Beach Premier Remodeling specializes in kitchen design, so they help homeowners create the space of their dreams. In addition to selecting fabrics, wallcoverings, furniture, flooring, window treatments, and accessories, they are experienced in drafting and drawing and offer services such as space planning, barrier-free design, kitchen design, custom cabinets, furniture design, furniture plans, and lighting plans. Their customers get top-of-the-line service and everything from design to installation.